VSOL GPON OLT CONFIGURATION STEP BY STEP
VSOL GPON OLT CONFIGURATION STEP BY STEP , Today we will discuss about vsol gpon olt configuration. vsol olt configuration a little bit complex. But don’t worry, we will try to learn it very easy way. We will show you step by step configuration of vsol olt. Let’s start…………….
VSOL GPON OLT CONFIGURATION STEP BY STEP , Today we will discuss about vsol gpon olt configuration. vsol olt configuration a little bit complex. But don’t worry, we will try to learn it very easy way. We will show you step by step configuration of vsol olt. Let’s start…………….
STEP 1: OLT ACCESS
vsol gpon olt, you can log in it using “AUX” port && also using the console port.
First
if you want to access your olt using AUX port first you need to connect an Ethernet cable to your PC or latop to OLT AUX Port.
VSOL GPON OLT has a fixed static IP address for AUX Port 192.168.8.200. To accessing this ip address you need to change your pc lan ip address, you have to use same subnet. You can set the IP of your computer or laptop 192.168.8.2 and subnet mask 255.255.255.0. Now you can access it via web but telnet not working yet, if you want to access it via telnet you have to login first web then goto system>login managment then delete telnet configure from filter list && save it. Then you can access via telnet
telnet 192.168.8.200
Second
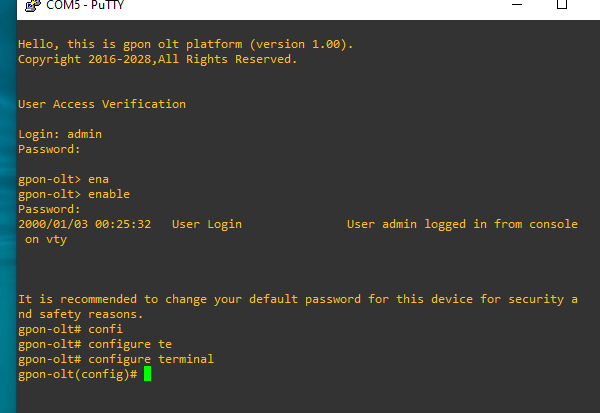
Connect your laptop or pc to olt console port using console cable. Then login via putty software, select serial then type your COM port number like below image && hit enter.

VSOL GPON OLT default IP, UserName && Password
ip: 192.168.8.200
Username: admin
Password: Xpon@Olt9417#
Here enable password is also same Xpon@Olt9417#
Step 2: Uplink Configuration
we have 4 port vsol gpon olt. We want to configure this vsol olt every pon port by different vlan.
First create vlan 2026-2029
gpon-olt# configure terminal
gpon-olt(config)# vlan 2026 – 2029
gpon-olt(config)#exit
Configure up link port G1
gpon-olt(config-if-ge0/1)#switchport mode hybrid
gpon-olt(config-if-ge0/1)#switchport hybrid vlan 2026 – 2029 tagged
Assign ip address to management vlan
gpon-olt(config)# vlan 100
Here we use private ip address, we can access this vsol olt from our local network easily.
Telnet protocol allow via command line
Telnet is a protocol that provides us a command line interface for configuring remote devices such as switch, router, server etc.Below that command give us permission to access our vsol olt by telnet protocol. by default telnet protocol is colsed from vsol olt firewall.
Now we can access our olt via telnet protocol.That’s all we already configured our olt uplink configurations. Lets configure PON (Passive Optical Network)
Step 3: Creating ONU Profile
In this step, we will create a profile for ONU. Every GPON Olt we need to create a profile for ONU. Here we can configure for 1 port onu and 4 port onu. Let’s create onu profile for 1 port onu
Here successfully configured an ONU Profile Named gpononu and where onu id 2 and it’s a 1 Ethernet port onu.
Step 4: Creating DBA Profile
DBA means Dynamic bandwidth allocation. This step we will create a DBA profile for ONU bandwidth. Every GPON OLT like Huawei, DBC GPON OLT must to create DBA profile
gpon-olt(profile-dba:2)# type 4 maximum 1024000
gpon-olt(profile-dba:2)# commit
gpon-olt(profile-dba:2)# exit
gpon-olt(config)# no profile dba id 2
Using this command we can delete dba profile.
Step 5: Create Service Profile
In this step, we will create a service profile where the profile id is 2 and the profile name srv_1_pon1_vlan_2026 and tag VLAN to the onu ethernet port.
gpon-olt(profile-srv:2)# commit
gpon-olt(profile-srv:2)# exit
gpon-olt(config)# no profile srv id 2
Step 6: Create Line Profile
In this step we will create a line profile and create tcont and add tcont with dba profile and also assign vlan to service port.
gpon-olt(profile-line:2)# gemport 1 tcont 1 gemport_name 1
gpon-olt(profile-line:2)# service srv_1 gemport 1 vlan 2026
gpon-olt(profile-line:2)# service-port 1 gemport 1 uservlan 2026 vlan 2026
gpon-olt(profile-line:2)# commit
gpon-olt(profile-line:2)# exit
Step 7: Bind Profile to PON Port
now we have to assign line profile and service profile to PON Port. and enable onu auto-learn option.select pon port 1
gpon-olt(config-pon-0/1)#onu auto-learn
gpon-olt(config-pon-0/1)# onu auto-learn srv-profile name srv_1_pon1_vlan_2026
gpon-olt(config-pon-0/1)# onu auto-learn line-profile name line_1_pon1_vlan_2026
gpon-olt(config-pon-0/1)#exit
gpon-olt(config)#writenow we can get internet from PON port1 by vlan 2026. That’s all we successfully configure vosl gpon olt step by step.
Hostname change
gpon-olt(config)#hostname POLLYBD
POLLYBD(config)#write
For save use write command
Some others command we will share with you
Create username password in vsol olt
Login: admin
Password:
GPON_OLT> enable
Password:
2020/01/01 01:18:07 User Login User admin logged in from 172.31.31.65 on vty
It is recommended to change your default password for this device for security and
safety reasons.
GPON_OLT# configure terminal
GPON_OLT(config)# user add kamrul login-password E4ZPTIvGI
Successfully added user kamrul as a NORMAL_USER ,
To change user role use “user role” command .
GPON_OLT(config)# user role kamrul admin enable-password E4ZPTIvGI
Successfully change user kamrul to ADMIN mode.
Disable web verification code in vsol olt
GPON_OLT(config)# web verification-code disable
if you want to active you have to use simple command below
GPON_OLT(config)# web verification-code enable
Setup NTP server in vsol olt
GPON_OLT(config)# ntp server enable
GPON_OLT(config)# ntp server 103.15.140.4
we successfully configured Vsol Gpon OLT configuration step by step. we hope that now you can easily configure your vsol olt. if you face any problem feel free to communicate with us. We will try to help you. you can contact with us via mail address. our mail address is @gmail.com